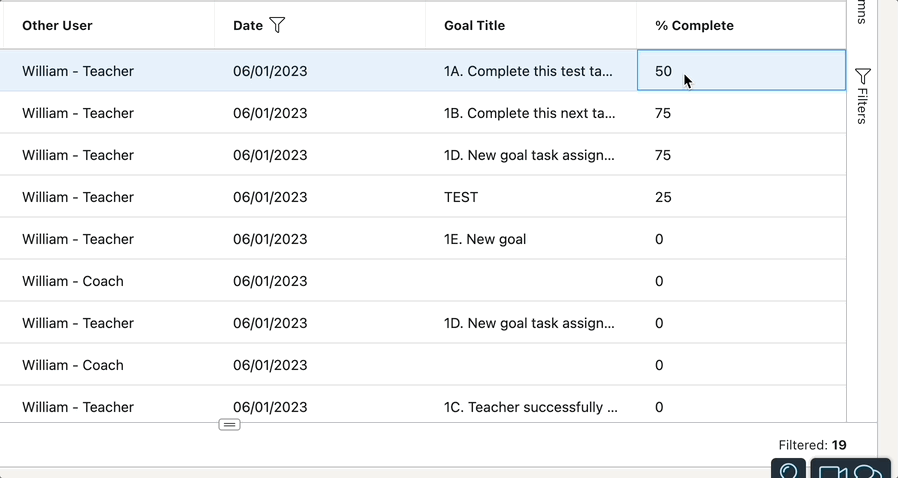
NOTE: The following currently only works with un-grouped reports in Report Builder.
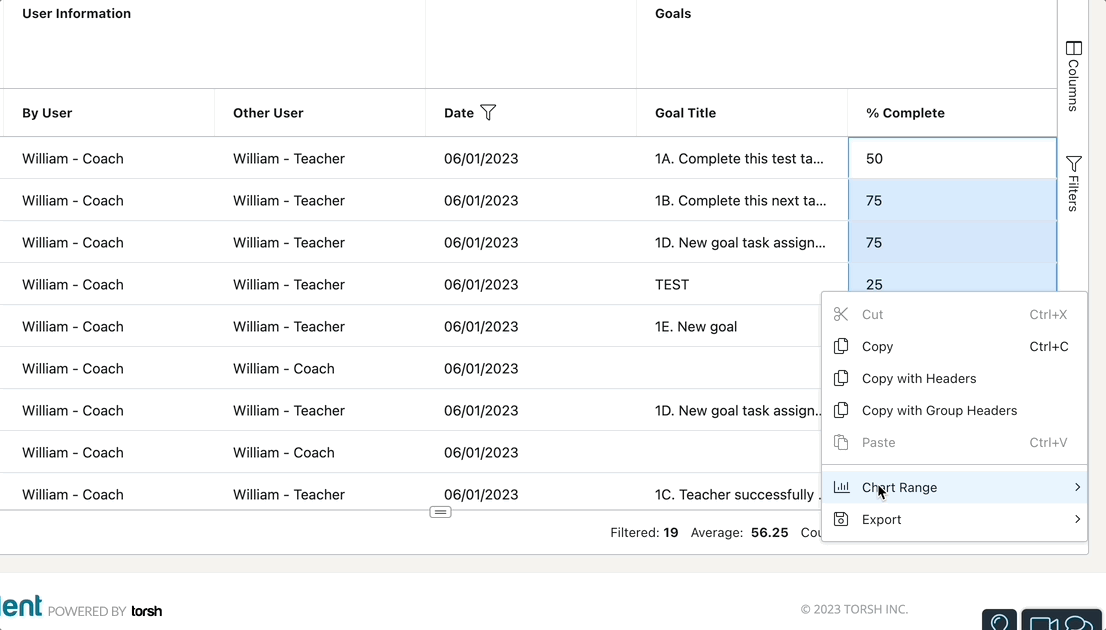
Using Report Builder, you can also display live charts and graphs! For the best results, highlight a column with numeric data listed, then right-click on the selected data (for Mac users, make sure you have ‘Secondary Click’ enabled in the System Settings of your computer; CTRL-click will not work, but a two-finger tap on your trackpad will!).
This will open a dropdown menu with various options, allowing you to either copy the data, export it into a CSV or XLS file, or produce a live chart or graph of the selected data.
Hover your cursor over ‘Chart Range’ and then select the type of chart you would like to produce. Depending on the data selected, you may find that a specific chart works better to communicate your ideas.
Once you have chosen a specific chart, a new window will appear with the data displayed. You can further edit this data by clicking the ‘+’ icon found on the right side of the chart. This will open a window, wherein you can change:
- Settings - the type of chart that displays the data
- Data - the different columns of data you would like to display on the chart
- Format - the different formatting options for your chart

When you are satisfied with your chart, click the ‘Save icon’ in the top, right-hand corner of the chart. This will download a PNG file of the chart to your device.

NOTE: Exiting out of the chart in your report will delete the chart you have created.