As an Administrator, you can manage all users in your entire system as needed from the Users Management page!
Contents:
I. How To Access the Users Management Page
II. Users Management Summary Chart
III. Quick Actions for Users Management
A. How To Invite New Users Individually
B. How To Invite New Users in Bulk
C. How to Purchase More Licenses
VI. How To Filter/Sort the Users Management Page
V. How To Modify Individual User Details
VI. How To Modify Users in Bulk
How To Access Users Management
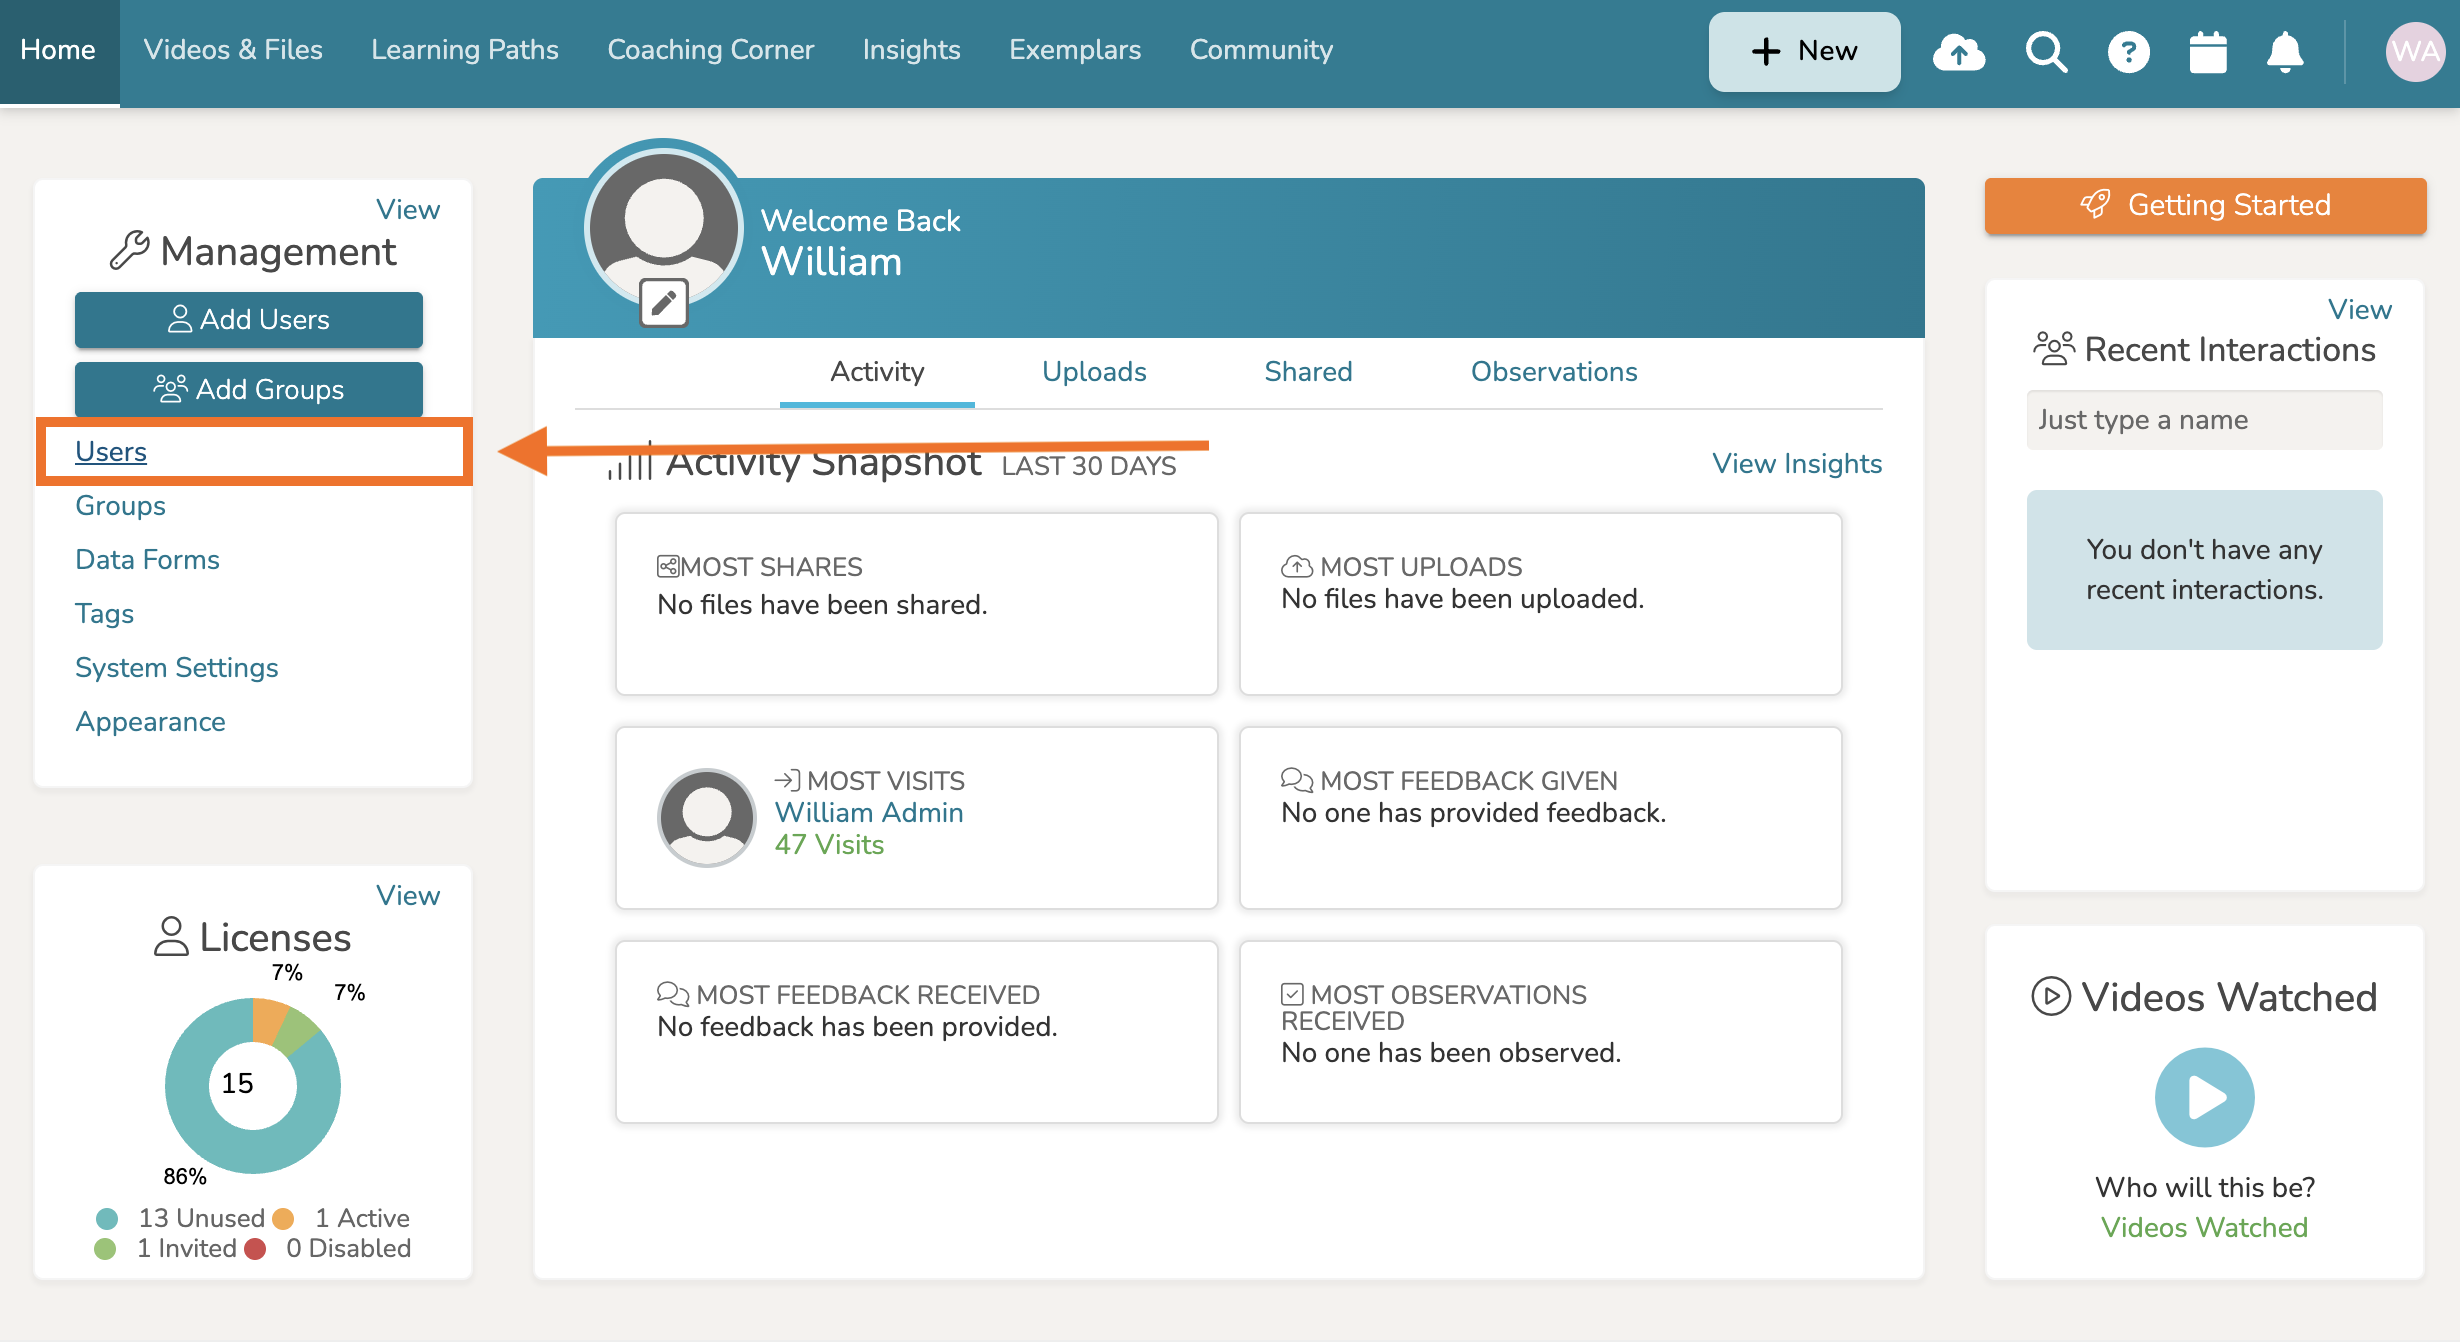
If you wish to manage the users in your system, you can do so by selecting 'Users' from the Management Panel on left-hand side of your Talent homepage. This will take you to your Users Management page!
Users Management Summary Chart
At the top of your Users Management page, you will find a pie wheel chart summary listing out various details about your user overall system license count and your current available license count for quick reference.

Those details include the following:
- Contract Start Date - The start date of your system's contract with TORSH.
- Contract End Date - The end date of your system's contract with TORSH.
- Total Licenses - the allocated license count for your entire system.
- Active - the current Activated user count for your entire system.
- Invited - the current Invited, or pending activation, user count for your entire system.
- Disabled - the current Disabled user count for your entire system.
- Available - the current Available license count for licenses that have yet to be utilized by active or invited users in your system.
Quick Actions for Users Management
At the top of Users Management, you will also find a list of various Quick Actions.

In the Quick Actions menu, you can do the following:
- Invite New User - invite new users to your system individually. Learn more via our Help Center article listed HERE .
- Bulk Invite - invite new users in bulk using a CSV spreadsheet! We provide a downloadable CSV file template to go from. From there you can upload the updated CSV file directly through the tool to invite multiple users at once! Learn more via our Help Center article listed HERE .
- Buy Licenses - to purchase new licenses directly for your system! Feel free to use the calendar tool to select a specific Term Ending date for the new licenses, or select End of Contract if you would like for the new licenses to remain in the current Contract End Date as the rest of your existing licenses. Learn more via our Help Center article listed HERE .
- Export All Users to Excel - to export a CSV file of all users in your system using the columns you have selected to display.
- Email All Users - to open a list of all email addresses for all users in your system for easy copy/pasting, in case you need to send a mass email.
How To Filter/Sort the Users Management Page
On your Users Management page, you will be presented with a full list of all Active Licenses, Expired Licenses, and Deleted Users in your system. Click on the respective tab at the top to view each table as needed.

Within a given table of the Users Management page, you will be presented with a list of of the users within your system along with certain identifiers about each user presented in each column. You can quickly sort and filter users out using the tools provide in the top, right-hand corner of the table.
Column Sorting and Filtering
Nearly every column header in each table displays with Sort and Column Actions buttons (from left to right respectively).

To sort a specific column, click the 'Sort' button presented as a directional arrow beside each column title. This will sort the column alphanumerically in either ascending or descending order.
To filter a specific column, click the 'Columns Actions' button presented as three dots next to each column title and then select the 'Filter by...' option in the dropdown menu. This will reveal a filter text box for each column in the table. Click on the text box presented and enter the item you wish to filter by, and the table will automatically filter this column for any entry containing your entered text.
Table Display Options
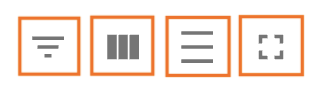
Each of the (3) tables Users Management page can have their display further modified via the table display options found in the top, right-hand corner of each table. Each table displays with a Show/Hide Filters, Show/Hide Columns, Toggle Density, and Toggle Fullscreen buttons (from left to right respectively).
Clicking the 'Show/Hide Filters' button displays all filter text boxes for each column displayed. Click on the text box and enter the item you wish to filter by, and the table will automatically filter the table for this column for any entry containing your entered text.

Clicking the 'Show/Hide Columns' button displays a list of all possible columns you can choose to display in your table. Each table displays with different columns by default, but you can further add or display other columns by clicking on each column toggle button to better organize and locate specific users in each table!
Clicking the 'Toggle Density' button temporarily refines the shape and size of the displayed rows of your table. You have the option to choose a smaller-sized view, a medium-sized view, or a large-sized view.
Clicking the 'Toggle Fullscreen' button temporarily displays the entire table in a fullscreen view, allowing you more room to adjust and organize for the specific section as needed. To return to your original view, simply click the 'Toggle Fullscreen' button again.
How To Modify Individual User Details
If you wish to view or edit an individual user, scroll to the far, right-hand side of their user listing and hover over the '...' icon in the Actions column. Then select 'Edit User' in the dropdown.
The Actions dropdown offers the following quick actions for modifying the selected individual user account:
- Edit - To further edit specific details about the account.
- Masquerade as User - To masquerade as the account as if you were logged in as that user (must be enabled in the Admin role's 'Roles and Permissions.'
- Delete User - To mark the account for deletion (wherein it will be permanently deleted after (30) days).
- Add to Group - To add the account to a specific group.
- Remove from Group - To remove the account from a specific group.
- Export user to Excel - To export the selected account listing into a CSV spreadsheet file.
- Reset Password - To send the email address on file for that account a password reset link.
- Assign to Role - To reassign the role of the selected account.

If you choose 'Edit' in the Actions Menu, the User Details pop-up will appear, wherein you can edit the following items by hovering beside each and clicking on their respective 'pencil icon':
- User Name
- UNID
- User Role
- Group(s)
- Email Address

In the top, right-hand corner of the User Details modal, the '...' icon offers a few extra helpful tools:
- Account Status - to disable a user account, click on its 'Active' listing. Doing so blocks the user from logging into their account but keeps all of their created/uploaded artifacts available in the system. The account will stay take up a license slot. To activate the account, click on its 'Disabled' listing.
- Delete - to delete a user account. Doing so marks the account for deletion, removes their created/uploaded artifacts from the system, and moves their account listing to the Deleted Users table to be permanently deleted in (30) days. The account will no longer take up a license slot.
- Reset Password - to reset a user's password and help a user unlock their account.
- Re-send Invitation - to resend an account invitation for a user who has not yet activated their TORSH Talent account.
How To Modify User Details in Bulk
To perform Bulk Actions for multiple users at once, simply select the multiple users and then click on the 'Bulk' dropdown option in the top, right-hand corner of your displayed table to choose the action you would like to take.
The Bulk Actions dropdown offers the following quick actions for modifying the selected user accounts:
- Activate User(s) - To quickly mark the selected accounts as 'Active.'
- Disable User(s) - To quickly mark the selected accounts as 'Disabled.'
- Delete User(s) - To quickly mark the selected account for deletion (wherein they will be permanently deleted after (30) days).
- Manage Licenses - To modify the Term Ending for the accounts selected. This is especially useful for re-enabling Expired accounts.
- Add to Group - To add the selected accounts to a specific group.
- Remove from Group - To remove the selected accounts from a specific group.
- Assign To Role - To assign the selected accounts to a specific role.
- Disable Two-Factor Authentication - To disable Two-Factor Authentication for the selected accounts. Great for troubleshooting 2FA issues that arise if a user has enabled the setting in their account but needs to implement it on a new device because they lost sync with the older device used.
- Send Password Reset(s) - To send the email addresses on file for the selected accounts a password reset link.
- Re-Send Invite Email(s) - To send the email addresses on file for the selected accounts a password reset link.
- Email User(s) - To quickly grab a list of email addresses for the selected accounts.
- Export User(s) to Excel - To export the selected account listing into a CSV spreadsheet file.